How to find a hidden water leak behind a wall (without opening it up)
A brown patch on the plaster, a skirting board that's started to swell, a water bill that crept up for no reason. A leak inside a wall rarely announces itself. By the time you can see it, water has usually been soaking into the timber and plasterboard for weeks.
The good news: you can usually narrow it down to one spot before anyone cuts the wall open. Here's the order we'd do it in, from free to a few minutes with a tool.
1. Confirm it's a leak (free, 30 minutes)
Start at the water meter, usually near the front boundary.
- Turn off every tap, the dishwasher, the washing machine and any irrigation.
- Write down the reading, or take a photo of the dials.
- Don't use any water for 30–60 minutes, then check again.
If the numbers moved, water is escaping somewhere after the meter. If they didn't, the leak only runs while something is in use — a shower, a basin, a washing machine hose — so test while that fixture is running.
2. Look for the signs (free)
Walk the wet areas first: bathroom, laundry, kitchen, and any wall that backs onto them.
- Stains or tide marks on plaster, often in a rough half-circle above the skirting.
- Paint that bubbles or peels, or plaster that sounds hollow when you tap it.
- Swollen skirting boards or vanity bases, or grout that keeps going dark.
- A musty smell in one corner that doesn't go away after airing the room.
- A hot patch on the floor — a sign a hot-water pipe may be leaking under it.
In Australian homes the usual suspects are a failed waterproofing membrane under the shower, the taps and flexible hoses under basins and sinks, the washing machine taps, and the joints near the hot water system.
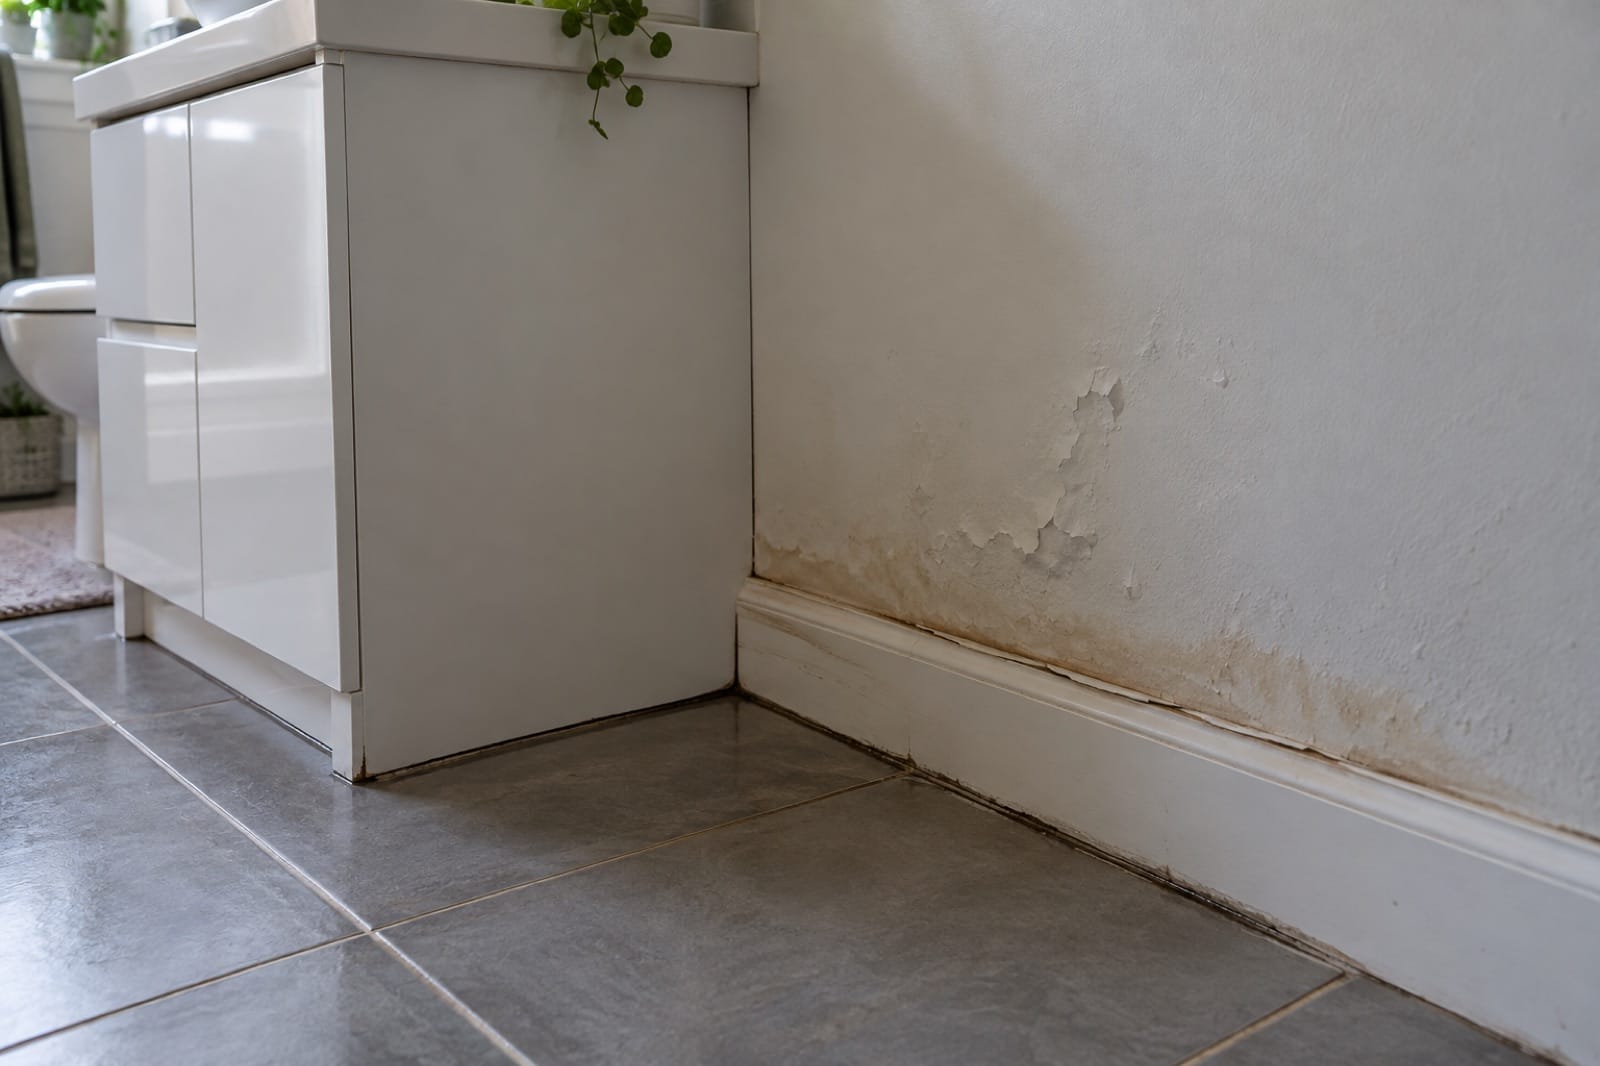
Illustration: paint lifting and skirting swelling — water is in the wall, but this doesn't show where it comes from.
3. Scan the wall with a thermal camera (5 minutes)
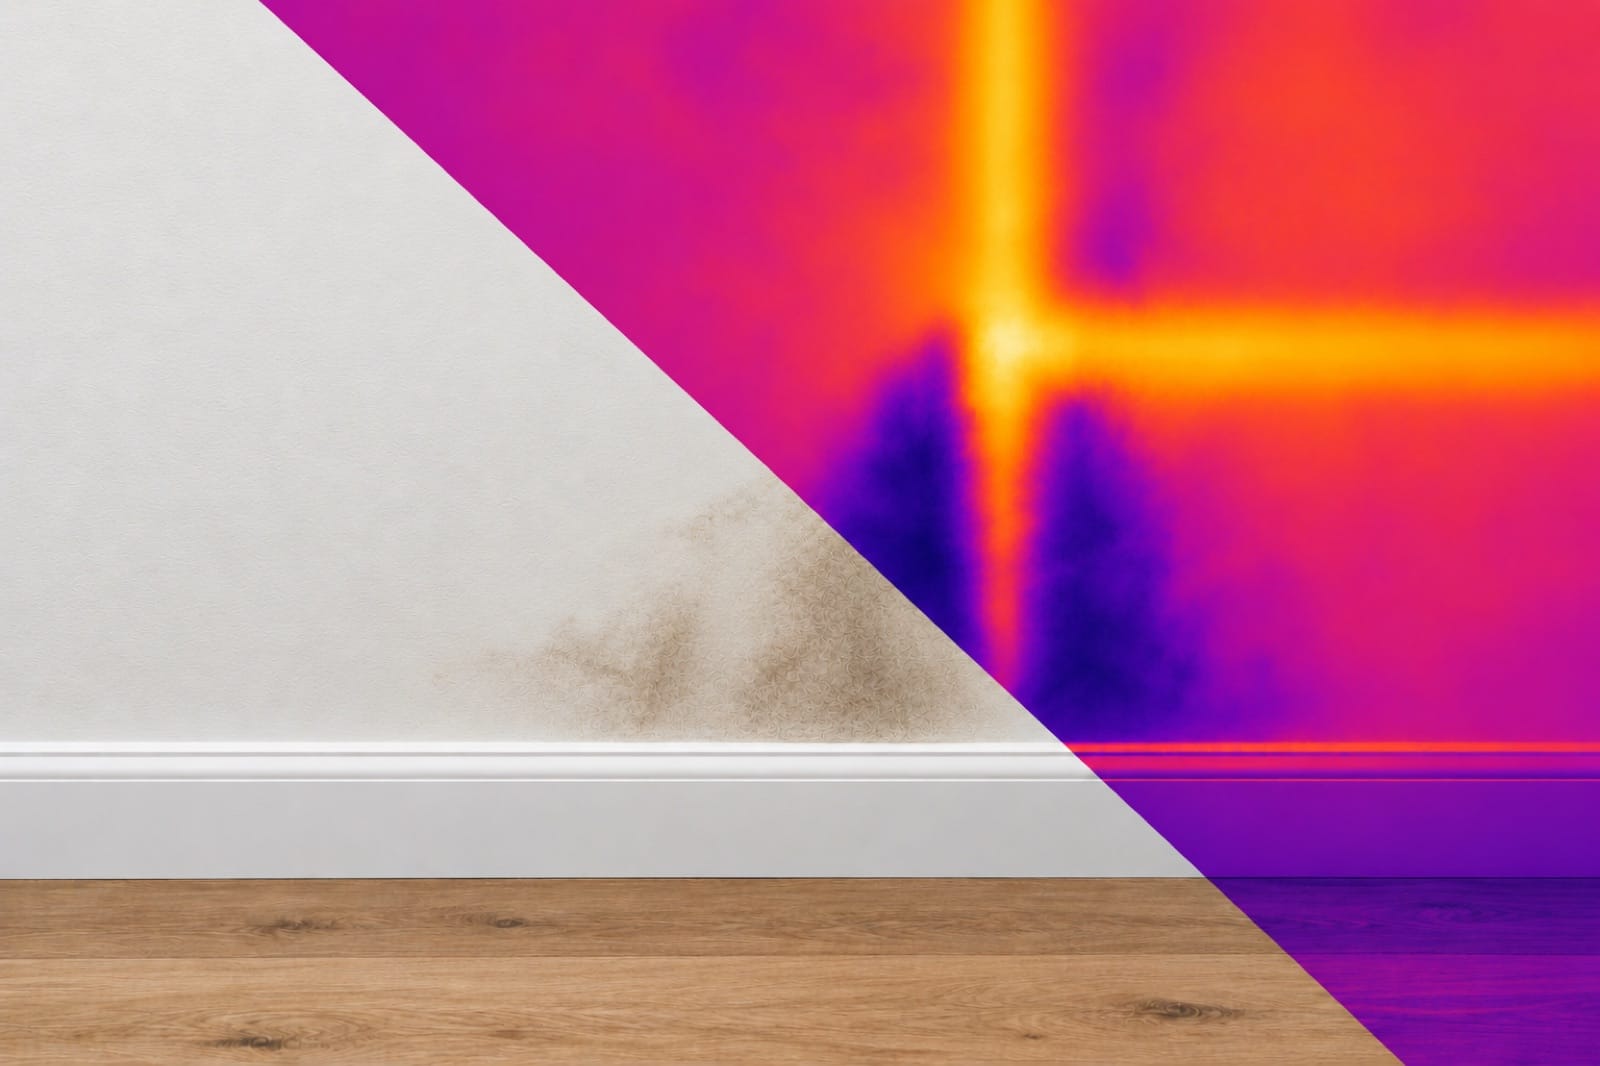
A thermal camera doesn't see water, and it doesn't see through walls. It sees the surface temperature, and wet plaster is almost always a few degrees colder than dry plaster next to it, because the water is slowly evaporating. A leaking hot-water pipe does the opposite: it leaves a warm streak.
How to get a clear picture:
- Make the difference bigger. Run the hot tap for a few minutes, then scan. Hot-water pipes and any leak from them light up. For cold pipes, scan after running cold water, or early in the morning before the sun warms the walls.
- Scan the whole wall from a couple of metres back first, then move in on anything that looks different.
- Follow the shape. A cold patch that's widest at the bottom and narrows upwards usually sits under its source. A thin line usually means a pipe.
- Check the floor and ceiling too. Water runs down studs and along noggings, so the wet spot isn't always right under the leak.
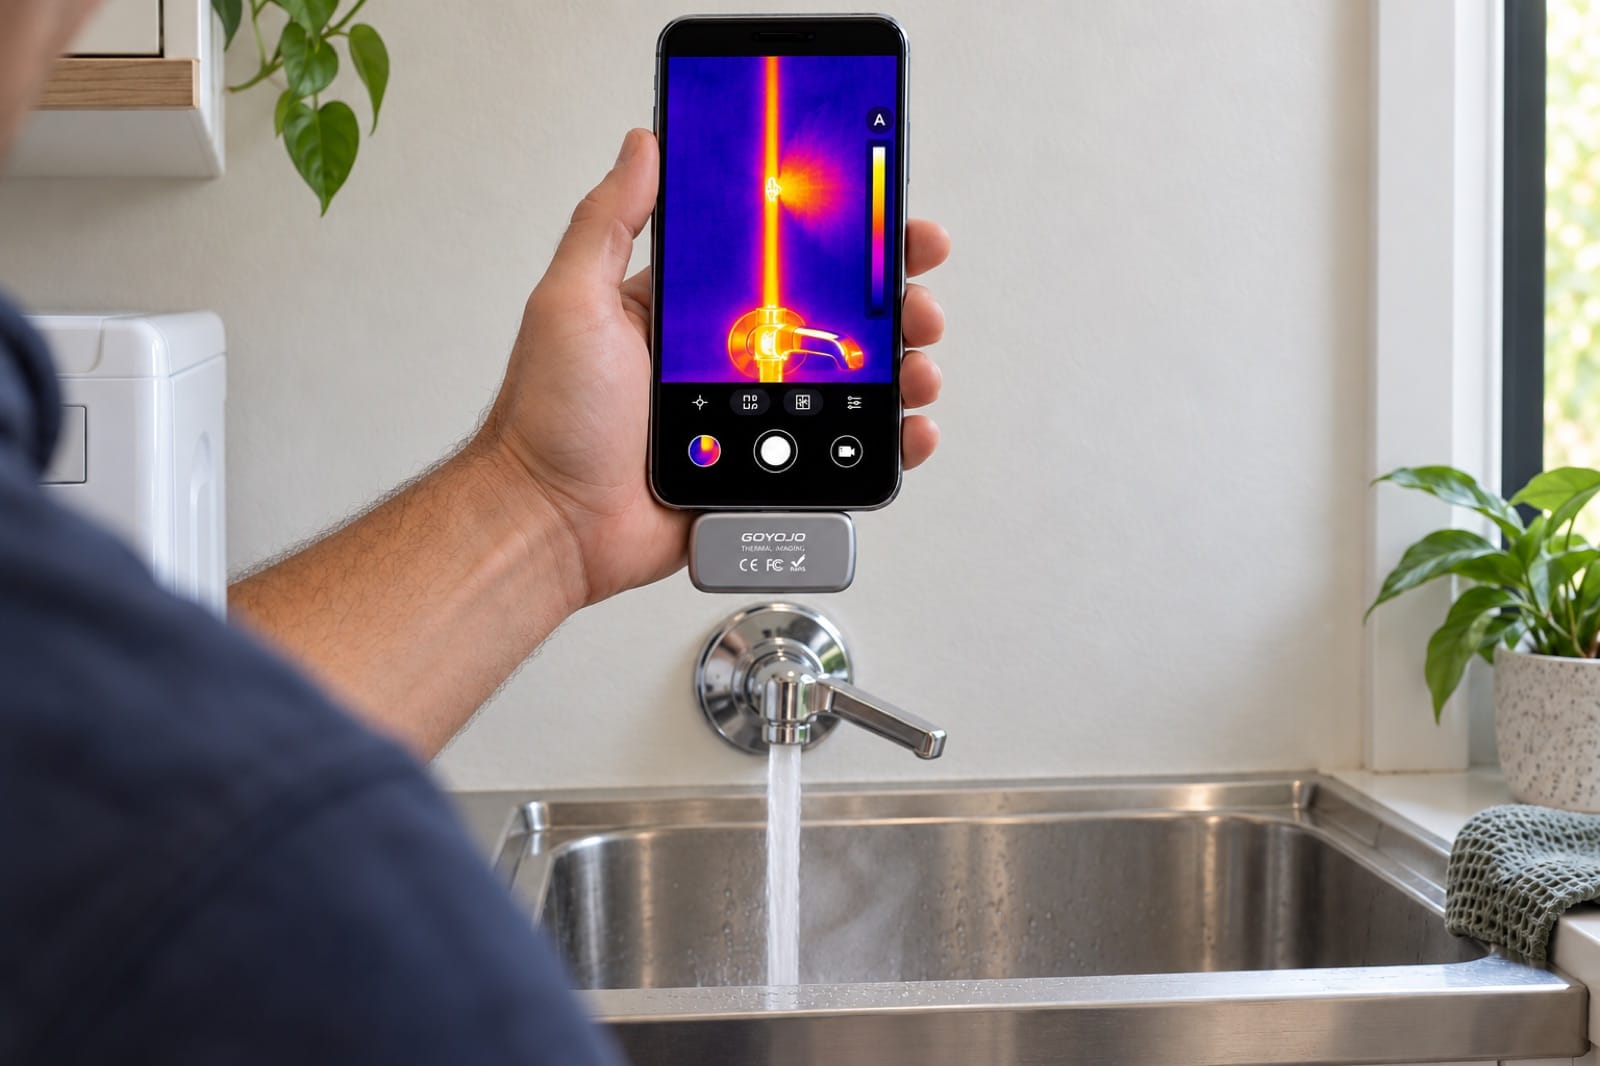
Illustration: with the hot tap running, the pipe inside the wall lights up — and so does the spot where it leaks.
Things that fool people: cold spots near windows and external walls, missing insulation, and air-con vents. If the cold patch has straight edges or follows a stud, it's more likely insulation than water.
4. Confirm with a moisture meter (2 minutes)
The thermal camera tells you where to look. A moisture meter tells you if it's actually wet.
A pinless meter reads through the surface without leaving holes. Take a reading on a part of the same wall that's clearly dry, then move across the suspect area. What matters is the difference, not the exact number: a reading that climbs steadily as you move towards one spot is pointing at your leak.
Mark the wettest point with painter's tape. Check it again in a week — if the area is growing, the leak is active.
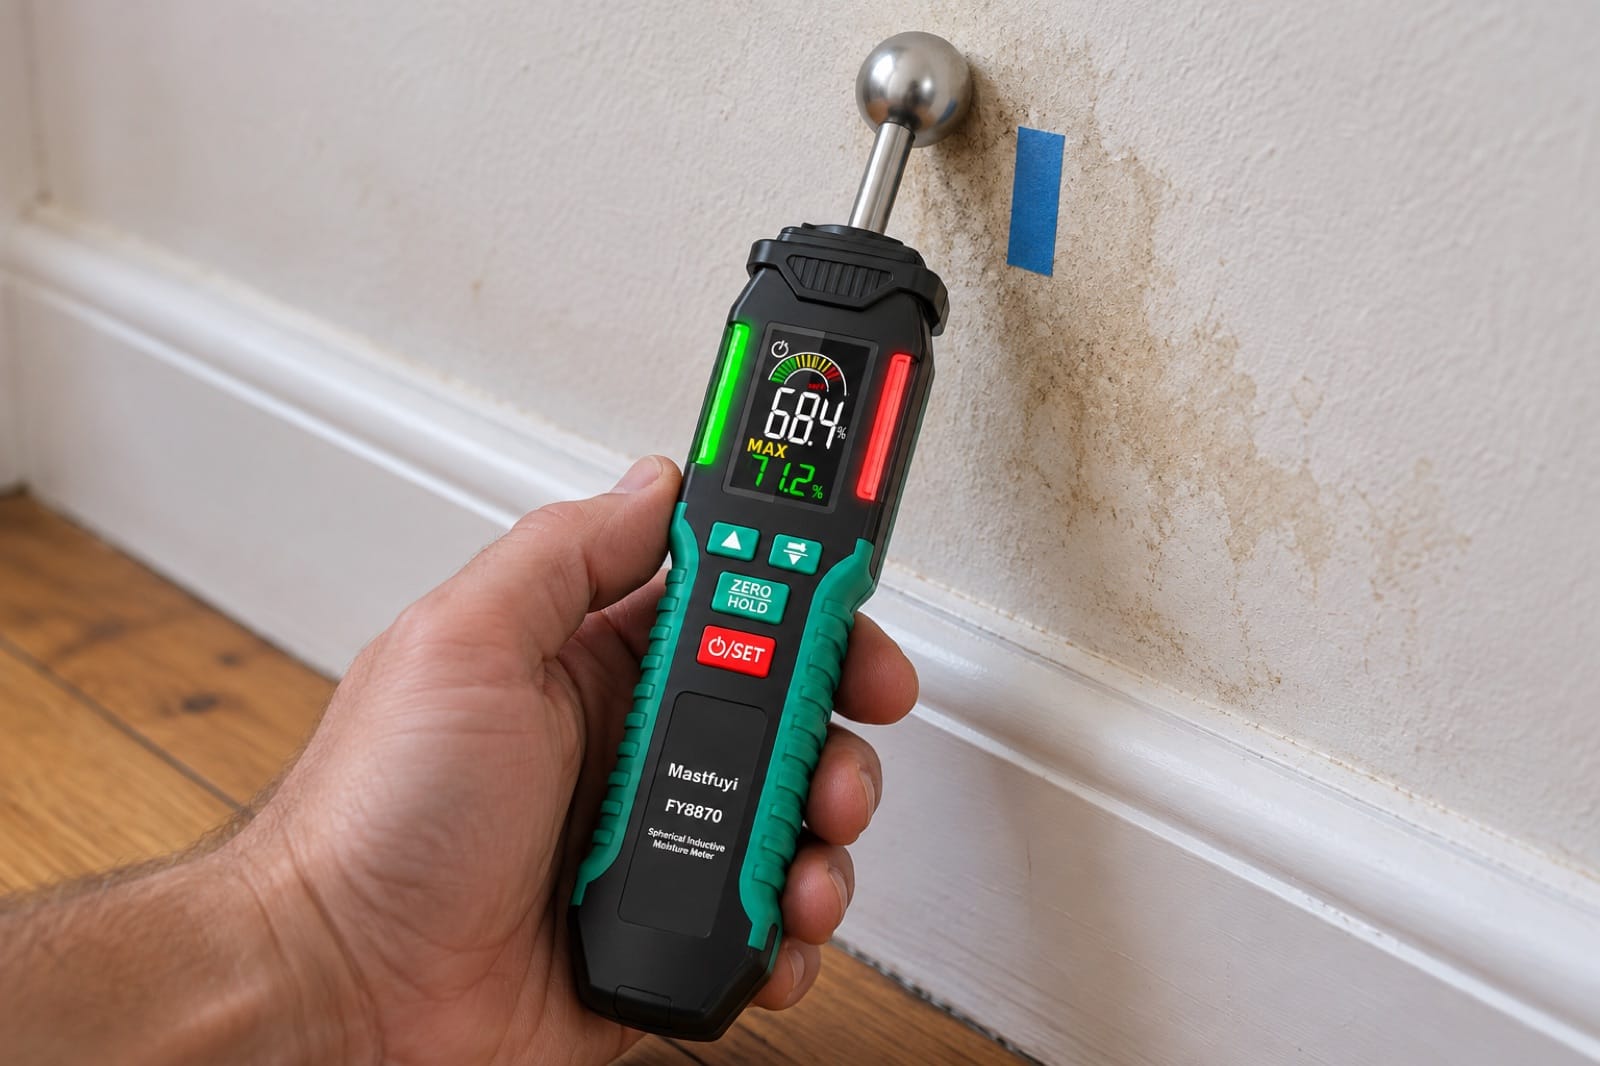
Illustration: the meter confirms the cold patch is actually wet. Tape marks the wettest point.
5. Look inside without opening the wall (10 minutes)
If you need to see the pipe itself, an inspection camera (borescope) can go in through a small hole instead of a large one.
- Use an existing opening if there is one: an access panel, the gap around a pipe where it comes through the wall, or the cabinet behind a vanity.
- Otherwise drill one small hole, just bigger than the camera tip, in the wettest spot you marked. A small hole in plasterboard is a five-minute patch; a metre-wide cut-out is a weekend.
- Before you drill, scan the area with the thermal camera to see where the pipes are, and stay well away from power points and switches — cables usually run straight up or down from them.
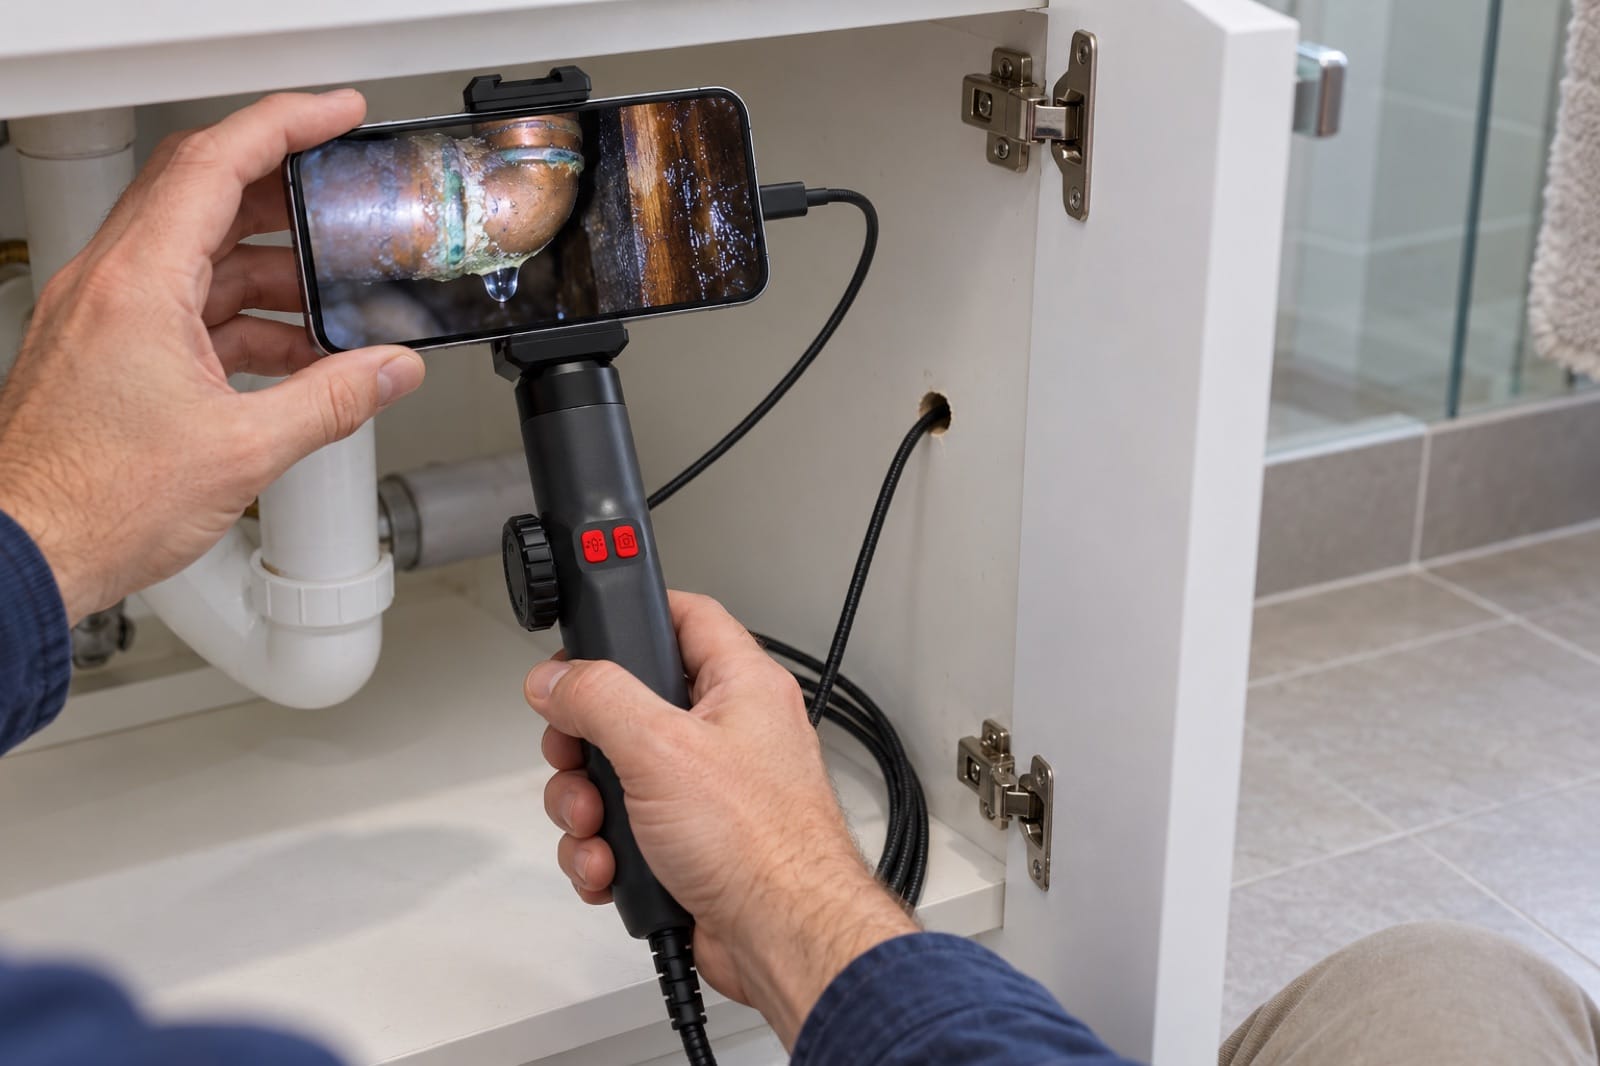
Illustration: one 12 mm hole behind the vanity instead of a cut-out — the camera finds the dripping joint.
Look for drips at joints, green or white crust on copper fittings, dark wet timber and rust on nail plates.
6. Get it fixed (and why speed matters)
In Australia, repairs to water pipes must be done by a licensed plumber. What you've done above still saves real money: instead of "there's a leak somewhere in the bathroom", you can show them the photo and the exact spot.
Two more reasons not to wait:
- Insurance. Many home insurance policies cover sudden water damage but exclude damage that built up slowly over time. Check the wording in your policy.
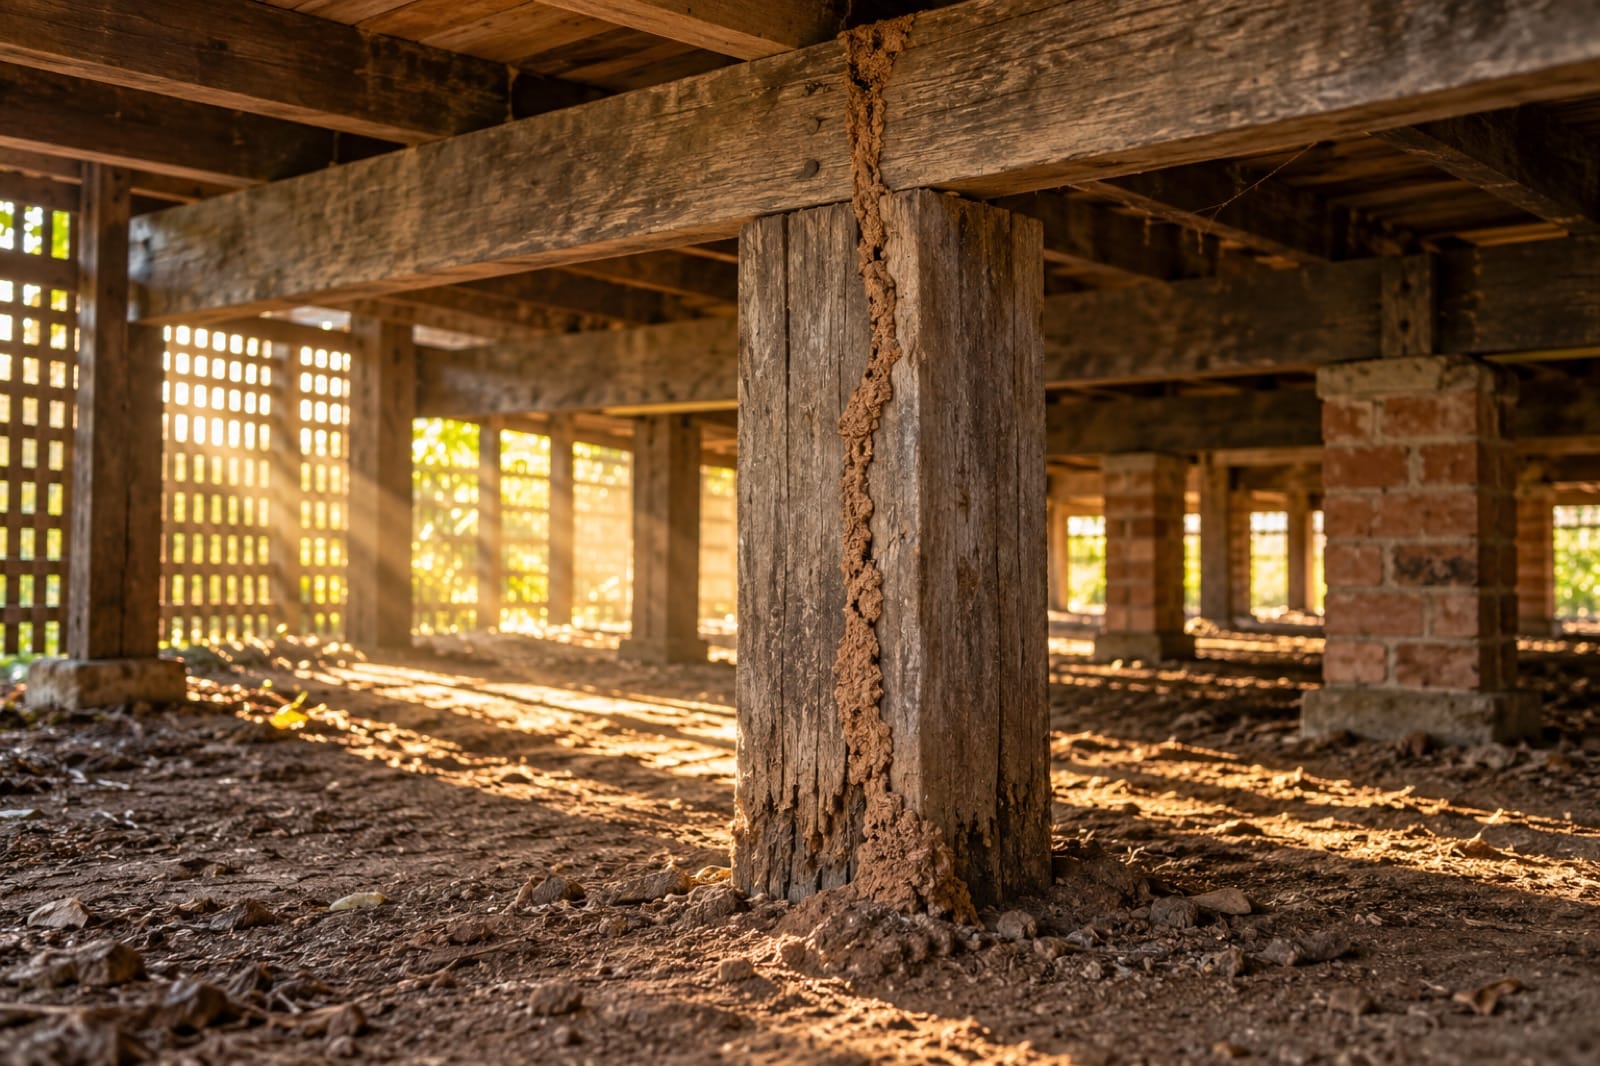
- Mould and timber. Wet timber and plasterboard start growing mould within days, and timber that stays damp attracts termites.
If the leak is in a strata building and the pipe is in a common wall, tell your strata manager before any work starts.
The tools in this guide
- Spark thermal camera — plugs into a USB-C phone. Enough to find wet patches and pipes on one or two walls.
- Spark Pro — more than five times the thermal detail, for single pipes and smaller patches across a whole house.
- Damp moisture meter — pinless, reads 5–40 mm into plaster, timber and cement render.
- Reach 360 inspection camera — a 6.2 mm tip that bends up to 180° each way, to look up and down a cavity from one small hole.
Spark Pro, Reach 360 and Damp together are our Whole Home Kit — the three steps of this guide in one box.